Why dont we just build a window, Part seven
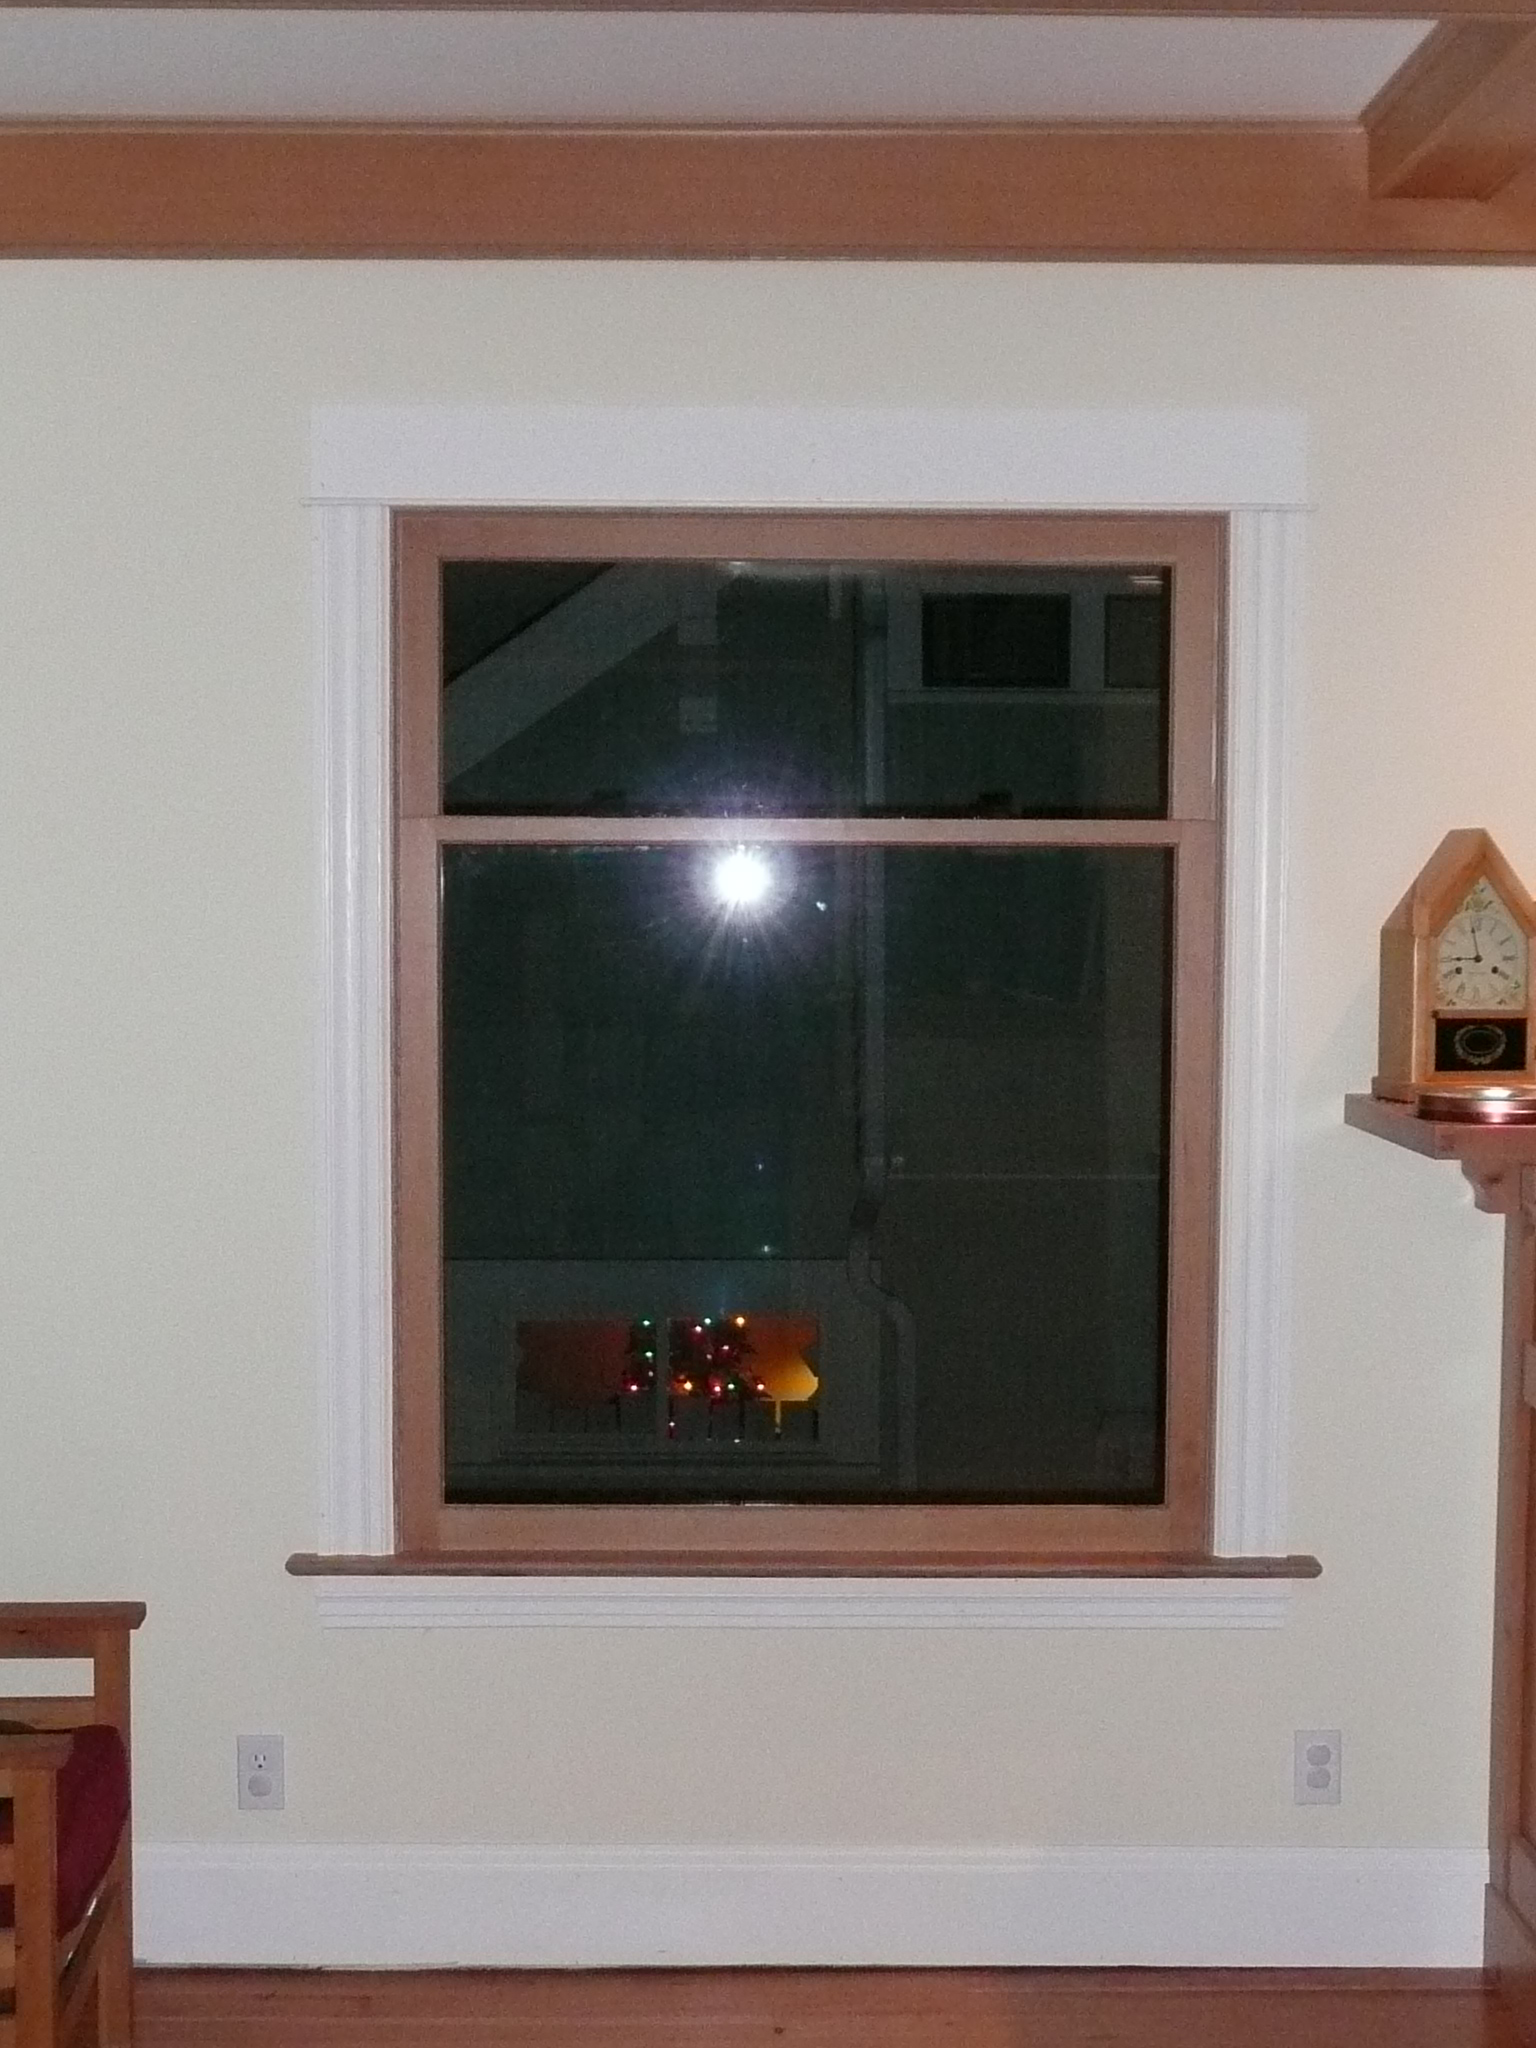
One down, six to go. The “prototype” window is installed and fully functional. The exterior is primed but not painted; we have to wait for slightly warmer weather for that. We have a test color picked out and purchased – ready to go.
Mom and dad came to visit for the post-Christmas week and Trissa was determined to have the Window installed. Recall that the Window was mostly built by my dad and I in November during Thanksgiving week. It’s been sitting in my shop since awaiting installation. It really is a two person job, and while Atticus was ready and willing, I don’t let him up on the ladder yet. At least not while using tools.
We decided to remove the old window without completely destructing it. This was pretty easy; in retrospect I’m pretty sure the only nails holding it in were from the outside trim boards. We carefully pried these loose and cut the nails with a sawsall. With only a little bit of coaxing the frame popped out and we lowered it to the ground.
Next we prepared the opening. The old window had cast iron weights which I’d removed when we drywalled (I’d insulated the pockets with fiberglass), and this created a space which needed to be made narrower so we could attach the sides of the window frame to the house. I screwed a 2x4 on each side to the existing framing, holding it out about an inch with some plywood. This left us with about a 3/8” gap on each side of the new frame.
Unfortunately the house has settled quite a bit in the front and the living room isn’t level – it drops about an inch over 10 feet. (This is an improvement from what it was; I raised it as much as I could a while back when I addressed the crumbling foundation). For the 4’ span of the window we noted that the elevation changed nearly half an inch.
The crux of this is that the new window will be level and plumb, but will be out of square with the exterior siding, which has settled along with the house. We ended up ‘cheating’ some of the trim to make it less noticeable, but it’s there all the same. The window needed to be level and plumb to operate well, so really there was no other choice.
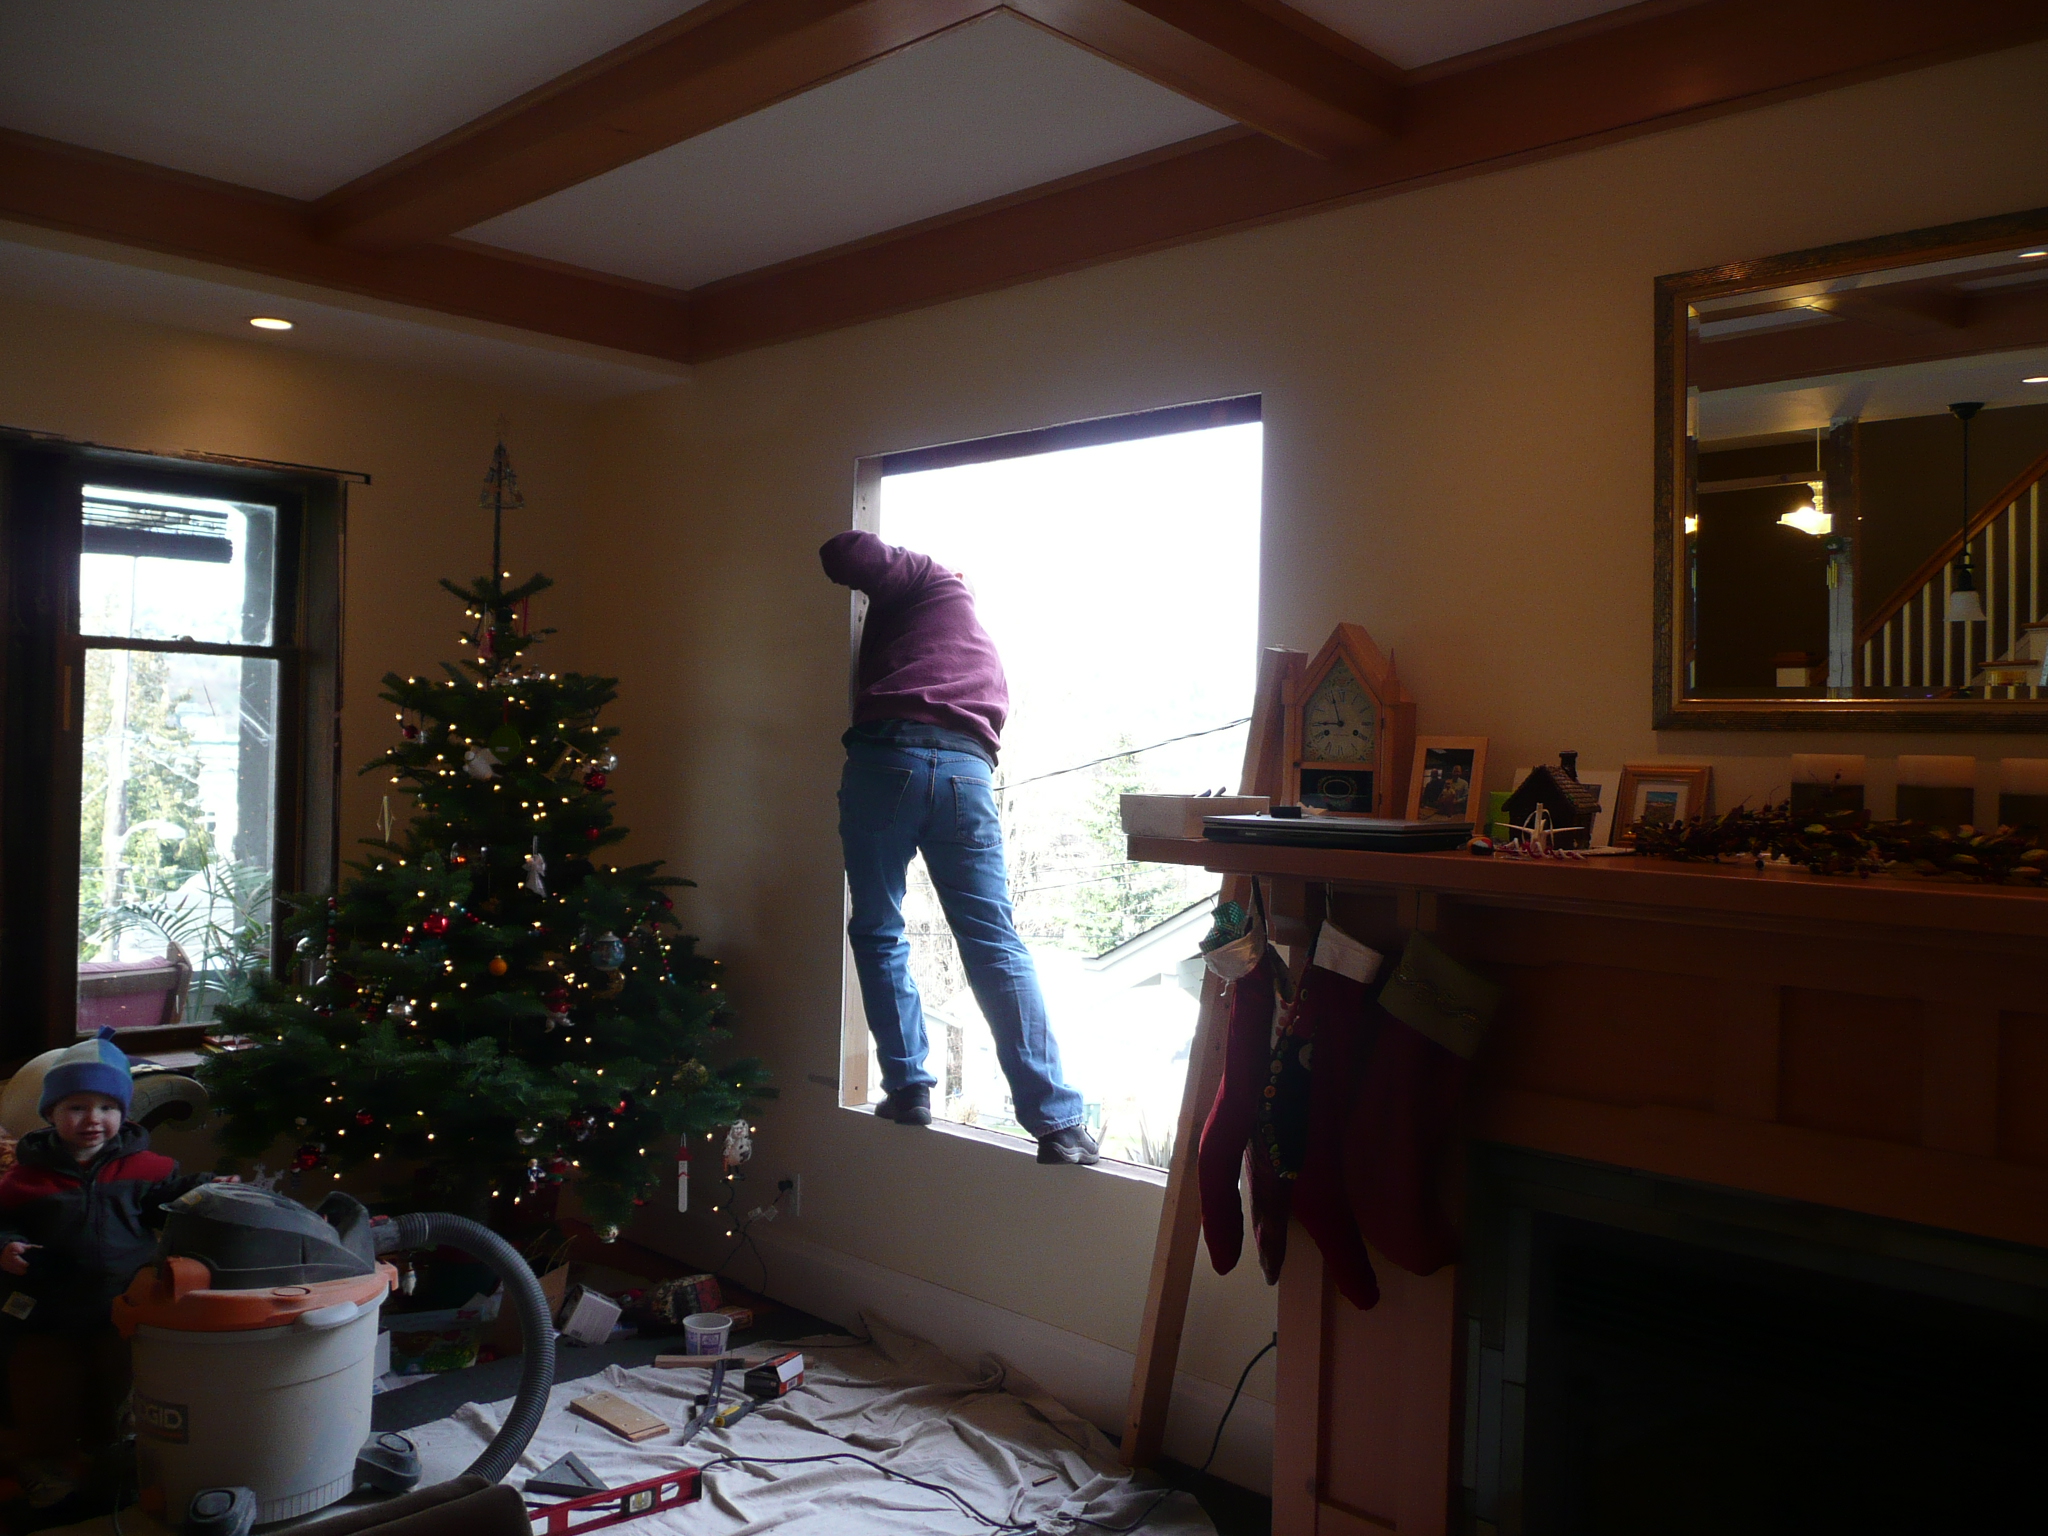
Installing the window went pretty smooth. Raise it into place from the outside, lock one lower corner in with a 3” screw, then level it and lock in the other lower corner. Then plumb it using shims and lock in a third corner. The forth corner should be plumb so shim it and double check. I think we ended up with 4 screws per side, into the framing. We hid the screws beneath the parting bead so they don’t show.
Next the exterior trim. This is about the point when it began to drizzle. We reused the original exterior trim, which has a few layers of paint still on – it will get stripped with the rest of the house in ’08 (if we actually get to painting). The trim went on with construction adhesive and 2 ½” finish nails.
Now the fun part – installing the sashes. The upper sash first, since it’s in back. The trick with my design is to hook up the balance cord. The sashes have a block & tackle balance recessed in each side, and they’re spring loaded. The cord needs to be pulled out of the balance, under pressure, and screwed into the side of the frame. The upper sash isn’t too bad – each balance has about eight pounds of lifting force. The lower one is harder since each balance pulls with about 20lbs of force.
With the top sash in place, the parting bead goes in. This is a 3/8 strip of fir that separates the sashes and creates tracks for them to glide in. It slides into a dado that is cut into the frame. The fit is tight, but not too tight. The bottom sash is then installed in front of the parting bead.
Lastly the interior trim, including the sash stop. These are all installed with finish nails. Some double-hung windows screw in the sash stop, but mine are to narrow. We haven’t made a final decision on sash-lock hardware, so that will come soon. Right now we’re leaning towards hardware from Rejuvenation.
That’s it. The prototype is a success – it opens and closes smoothly, is air tight, and is great to look at (and through). I made the sashes entirely from salvaged fir, and the frame from new fir and cedar (for the sill). The trim is all original. The glass is double-pane insulated, without any coatings. Total cost came in just shy of $400.
One down, 6 to go. As of now I have all the parts cut out for all 6 and I’m in the process of fitting them together (fine tuning all the joints) in preparation for glue up. Still, I’m not going to make any predictions about when they’ll be done…
2 Comments
Sandy·January 2, 2008
The window looks so nice!
Aaron·January 2, 2008
Wow, nice.
I’d forgotten from our visit just how large those windows are—the shot of you standing in it is a great shot.